

How to: Upcycled Castle Craft
HOW TO:
Upcycled Castle Craft

When you’re stuck at home with the kids and have nothing to do, don’t despair! It’s easier than you think to grab the paints, glitter, and glue gun and let creativity shine!
Having an instant craft that not only kids but parents love is a life-saver! For this craft we've recruited one of our Retykle Ambassador’s, @littlecitytales, to show us a fun and easy way to keep your tykes busy. This super fun and upcycled craft can be done at home with things you already have!
Materials Needed

- 1 x drinks carrier
- 6 x empty toilet paper rolls
- Paints
- Cardboard
- Toothpicks
- (Card)paper
- Origami Paper (or coloured paper)
- Glue Gun
Step 1: Castle Mounds
Turn your drinks carrier upside down as these will form the mounds of your castle.
Paint the raised parts in green to resemble hills and the dented parts blue to represent the moat. Little ones might opt for more vibrant colours, its all part of the imagination!

Step 2: Castle
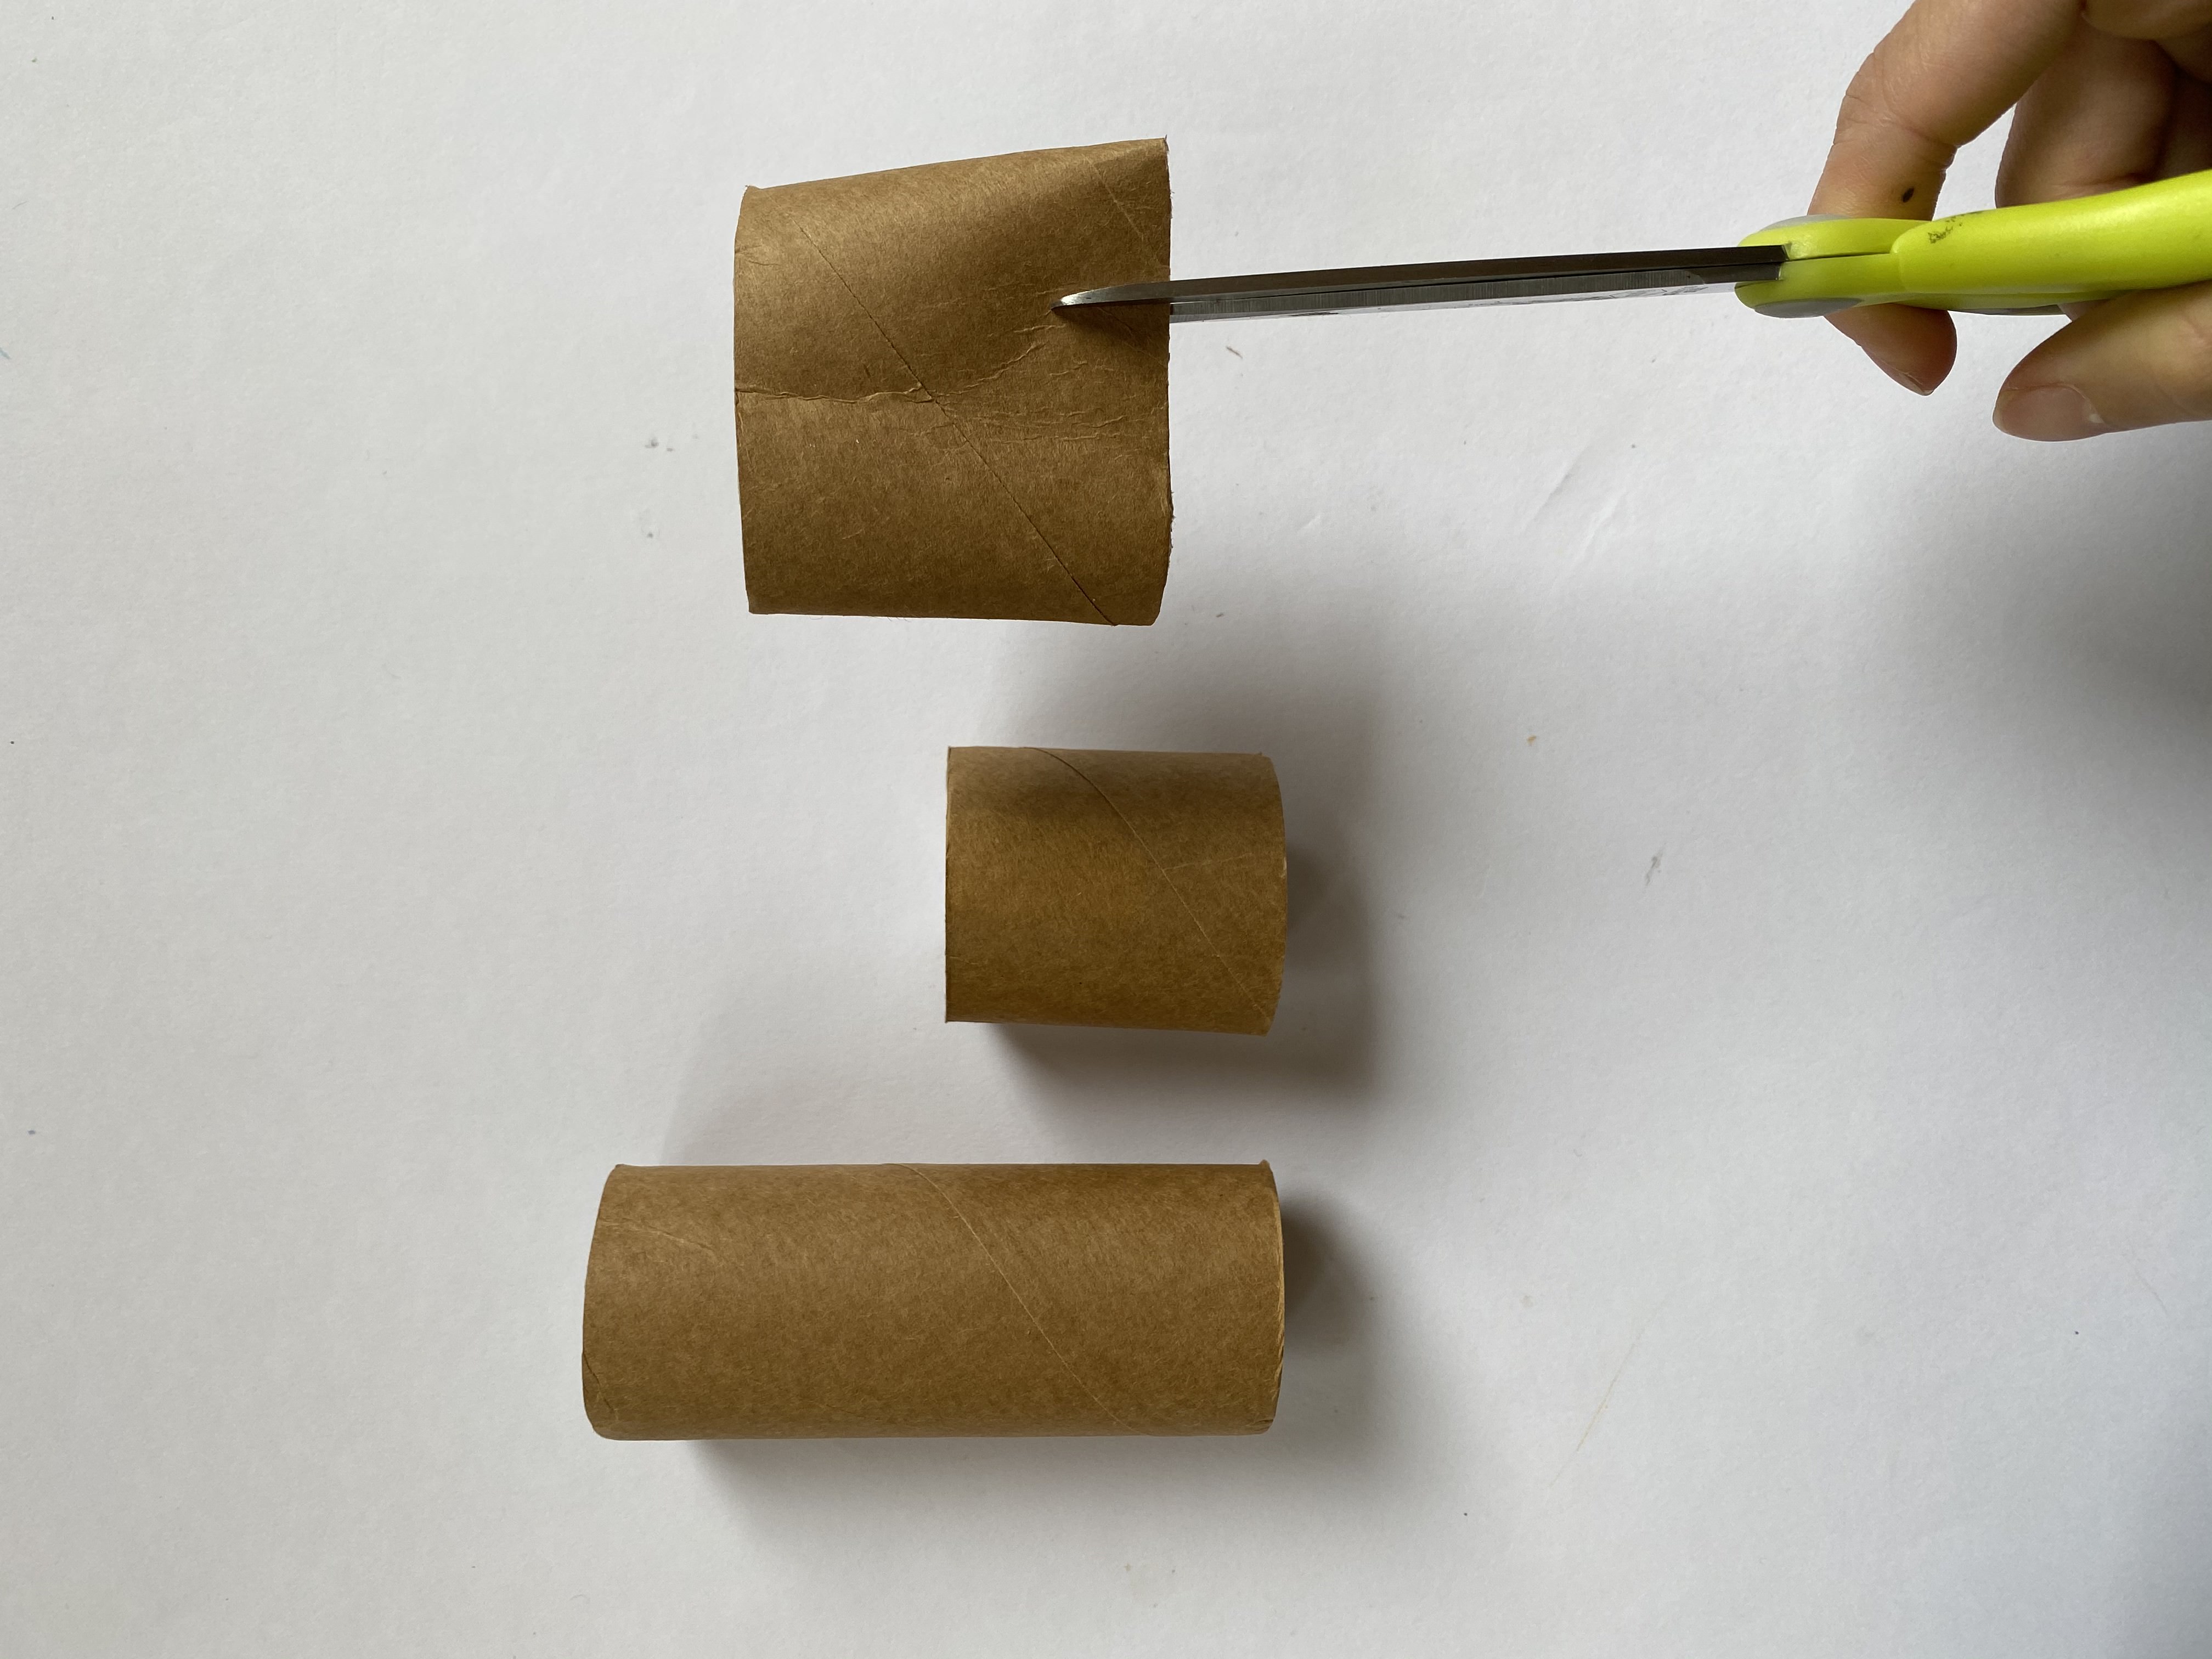
To make your castle, you will need six (6) empty toilet rolls. Keep four as they are, and cut the remaining two in half. Then cut a small slit in each of the halves, about ¼ in from the edge.
You can then slot the halves onto a full toilet roll to make one castle tower. Repeat for all four towers.


Next, cut out your castle walls so that they would fit the towers in between. You will need to make four walls, with one that has a door cut out of it. You can approximate the length by holding the cardboard up against where the tissue rolls would sit. For older kids, they can cut out the battlements themselves, or with adult support for younger kids.
Next, paint all your pieces. You can go as bold and colourful as you want! If the paints you are using are very watery, it is best to paint two layers.
You can also add windows onto your castle towers by simply drawing or using cardboard / card paper.
Step 3: Pointed Turrets
Take a strip of origami or coloured paper and twist into a cone shape. Tape the edges together and cut to length so that it sits on top of your halved tissue roll. Make sure you twist quite tightly so there is only a tiny opening at the tip. This will be where your flag goes.


To make the flag, simply cut out a rectangle from a piece of (card)paper, decorate it, and stick it onto a toothpick. Then insert into your turret cone.


Step 4: Assembly


Assemble your castle towers first so each one has one full toilet roll, one halved toilet roll on top, and a pointed turret and flag to top it off.
Now it’s time to assemble all your pieces together with a glue gun. Glue down one tower onto one mound of your drinks carrier, then attach a wall, followed by another castle tower.
Repeat until you’ve closed in your castle.
Make sure you follow @littlecitytales for more crafting and style inspiration! Happy crafting!

Leave a comment